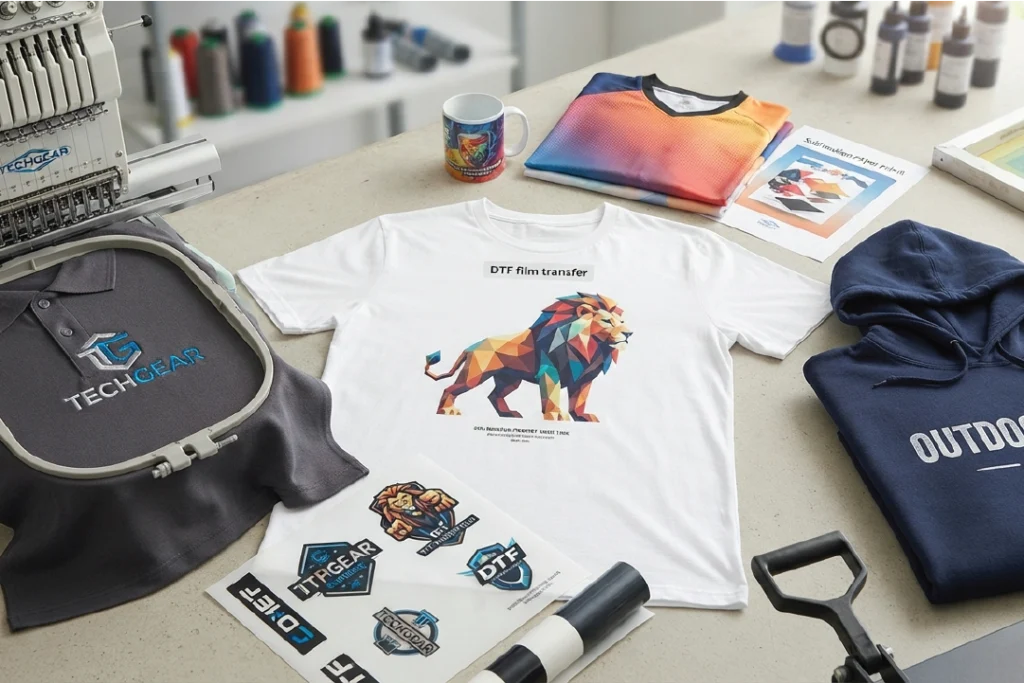
Screen printing is one of the most reliable, vibrant, and durable methods for custom branding. While the finished product looks seamless, the actual journey a t-shirt takes through a screen room requires precision, chemistry, and specialized equipment.
Stage 1: Artwork & Color Separation (The Prep)
Every successful print starts on a computer screen. Because a screen printing press applies only one color of ink at a time, your complex artwork must be broken down into individual monochrome layers.
- Digital Processing: Graphic specialists take your design files (usually vector formats like
.aior high-resolution raster files like.psd) and run a process called color separation. - Halftones & Spots: If your artwork features solid shapes, it is separated into individual spot colors. If it features complex shading or photographic gradients, the software converts the art into tiny dots called halftones.
- Creating Film Positives: Each separated color layer is printed using ultra-dense black ink onto a clear plastic sheet called a film positive. If your logo has red, white, and blue in it, you will generate three separate black-ink films.
Stage 2: Screen Room Preparation (The Stencil)
While the art team prepares the films, the screen room technicians handle the structural mesh stencils. If you are using a previously printed frame, it must first undergo a rigorous maintenance cycle:
- Re-Meshing: If a screen is torn or has lost its structural tension, it is stretched with new polyester mesh and glued securely to its aluminum or wooden frame.
- Screen Reclamation: Used screens go into a wash booth where heavy-duty chemicals break down old ink and stencils. Technicians use emulsion removers, degreasers, and dehazers (ghost removers) to clean the mesh completely transparent.
- Coating with Emulsion: In a light-protected darkroom, the clean, dry screen is coated with a liquid, light-sensitive chemical called photo emulsion using a scoop coater tool. The screens are then left to dry horizontally in pitch-black racks.
Stage 3: UV Exposure & Washing (Burning the Mesh)
This stage uses basic photography principles to permanently lock your artwork design into the screen mesh.
- The Exposure Unit: The dry, coated screen is placed inside a UV light exposure unit. The black-and-white film positive from Stage 1 is taped precisely flat against the glass, sandwiching it securely against the screen’s emulsion layer.
- UV Light Exposure (Burning): High-intensity UV light blasts through the clear parts of the film positive, instantly curing and hardening the liquid emulsion into a solid waterproof barrier. However, the solid black parts of your printed design completely block the light. This means the emulsion directly underneath your artwork remains soft and uncured.
- The Washout Booth: The screen is taken to a washout booth and sprayed with water. The uncured, soft emulsion underneath the design washes right out down the drain, leaving open, porous mesh holes that perfectly match your original artwork. The screen is dried and checked for light leaks before heading to press.
Stage 4: Press Setup & Production Printing (The Run)
With your stencils ready, production shifts to the print floor, where the actual ink transfer occurs.
-
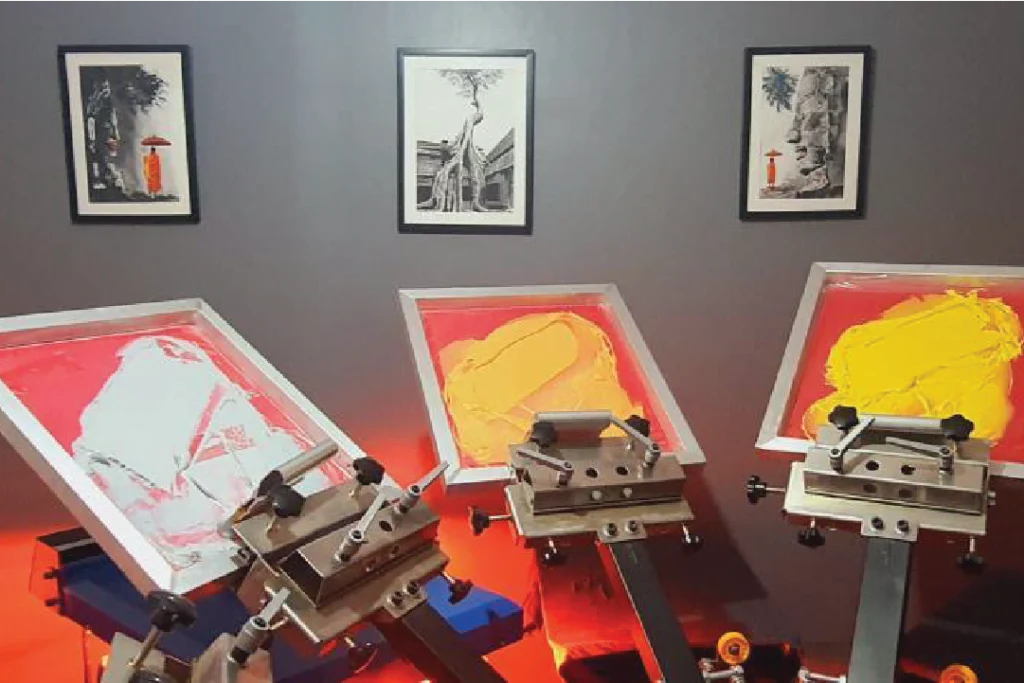
- Registration and Alignment: The prepared screens are clamped into the print arms of a manual or automatic carousel press. Technicians meticulously align (register) each screen so that every color prints perfectly on top of or alongside the others without shifting.
- Flooding and Stroking: The garment is pulled flat onto a printing pallet. Ink is poured directly onto the screen. A squeegee tool pushes the ink across the mesh stencil—a process called flooding—and then sweeps down with firm pressure (the print stroke), forcing the ink through the open mesh pores onto the fabric below.
- Flash and Final Curing: Multi-color prints are briefly heated between colors with a “flash dryer” so the layers don’t smudge. Once fully printed, the garment is placed on a continuous conveyor belt dryer set to roughly 160°C (320°F). This high heat chemically fuses the plastisol or water-based ink directly into the fabric fibers, ensuring your print will never wash out.